My first contact cards in a DIY-process …
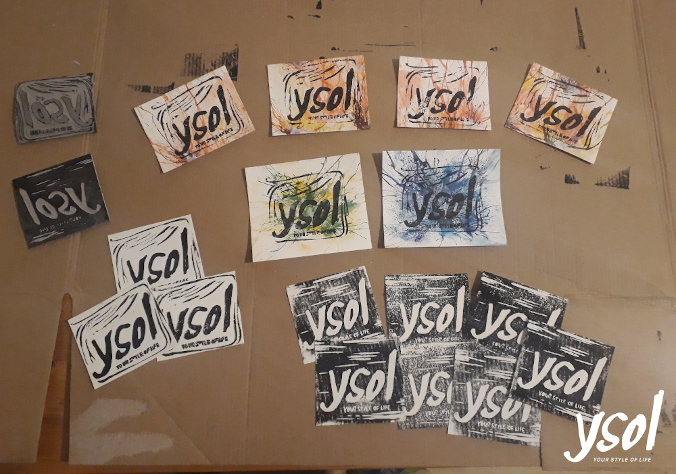
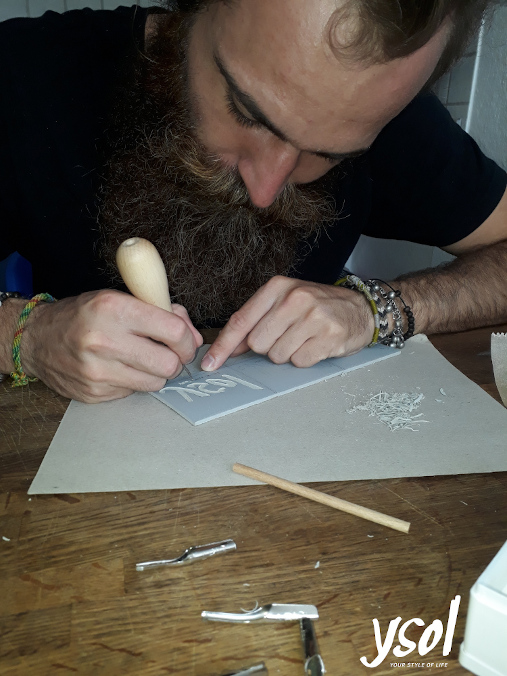
What happens if you stuck for a while in your home country? Right, you visit friends and familiy. When I stayed at my sisters place for a few days we decided to be a bit creative. As she purchased all the tools for a linocut print, I had the idea to print my YSOL-Logo and make a few handmade contact cards.
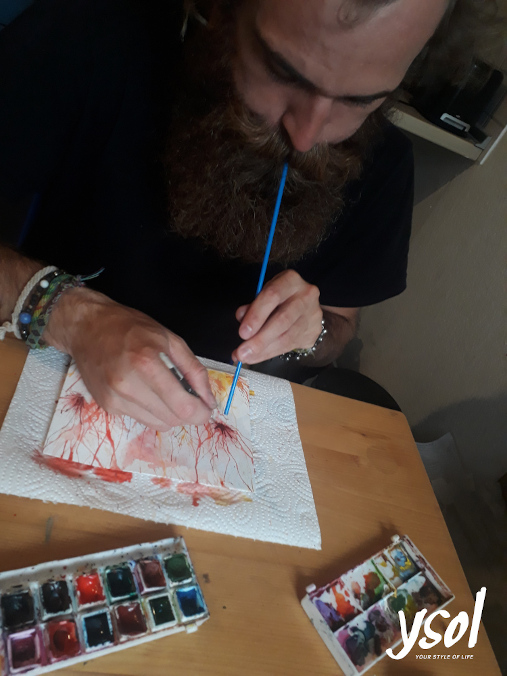
The good thing is, once you prepared the printing stencil, you can use it for plenty of prints over a periode of time. For now I did just a few black & white once as well as some prints with a watercolor backround.
What do you need for a basic linocut:
- a linoleum pad
- set of linoleum cutting tools (for fine an rough parts)
- printing ink for linoleum (water-soluble ink is good for the use at home and requires no other chemicals)
- ink roller
- something to press the pad on the printing paper (rolling pin)
- maybe cutter, pencil, baking paper
I am happy about the individuality of every single print as it depends a lot on the ink coating and the printing pressure. Also the creative possibilties of multi printing layers and different types of background designs give you a wide range of exploration. Its an other craft full of options.
Process …
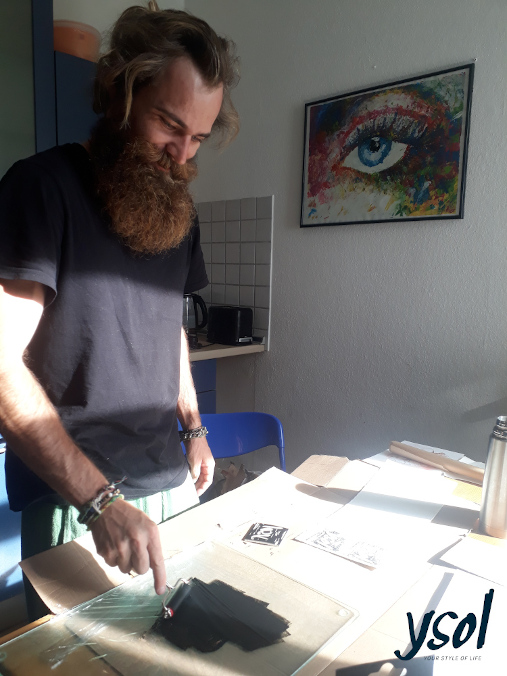
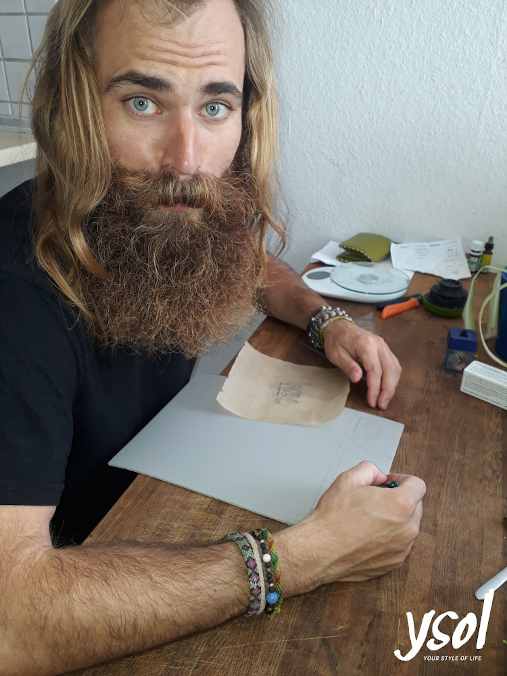
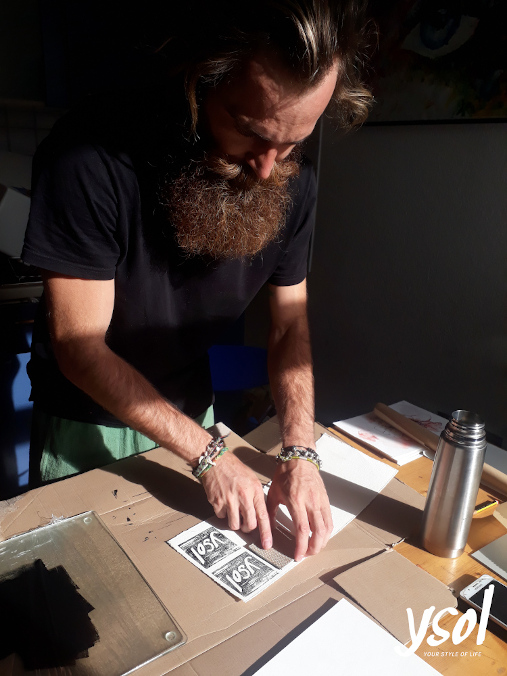
create design – decide which structures/areas on the motiv should be printed (raised print – high areas get colored) – sketch on the pad (mirrored) – cut the pad – choose the paper to be print on (in case of pre-art preperation the adhesion of the print might vary) – choose ink color and coat the roller homogeneous – coat the pad with the ink (not to much and not to little but it is also a way to play with the result) – press the pad on the paper (printing press but also a rolling pin is enough). ET VOILá!
If I got your interest for trying the linocut and the given informations did not answer all your questions get in touch with me or check the web.
Let me hear about your print experiences!
YourStyleOfLife


0 Comments